| |
DRAWings® X3 Pro Demo A : Basic Stitch Parameters Control |
|
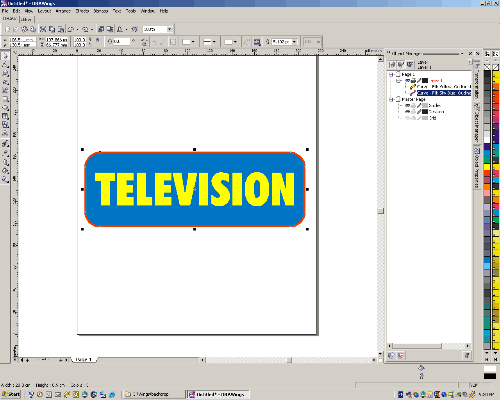
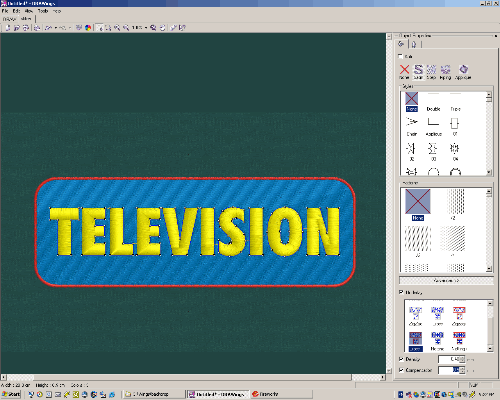
| Step 1:Load a vector image in CorelDRAW® |
|
|
|
Step 2: Click the "Stitch" Tab at the top-left corner, the stitches are generated instantly. |
|
 |
|
| Step 3: Select Fill stitch (Blue area). On the property panel, check "Underlay" . |
| |
|
|
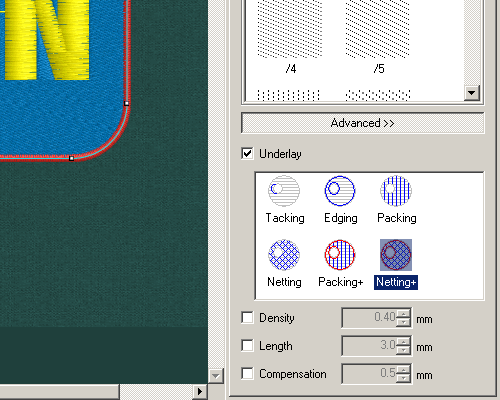
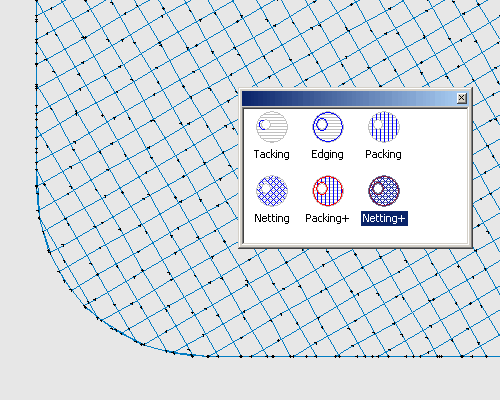
| Step 4: The original underlay is Netting+ that is created by DRAWings based on selected fabric and object size. |
|
|
|
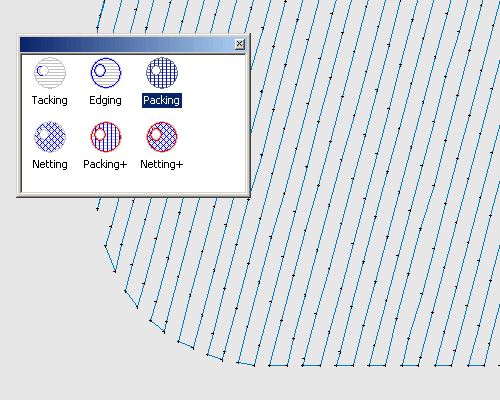
| Step 5: Click on "Packing", the underlay is changed to the following pattern. |
| |
|
|
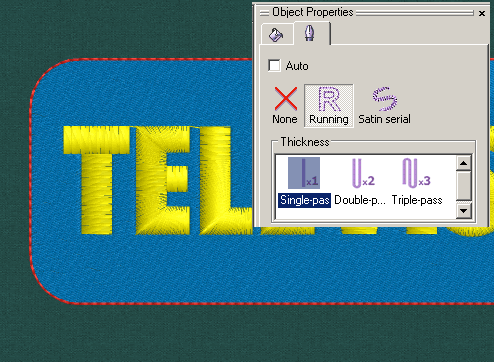
| Step 6: Click on the Text, the property panel shows up satin stitch parameters. |
| |
|
|
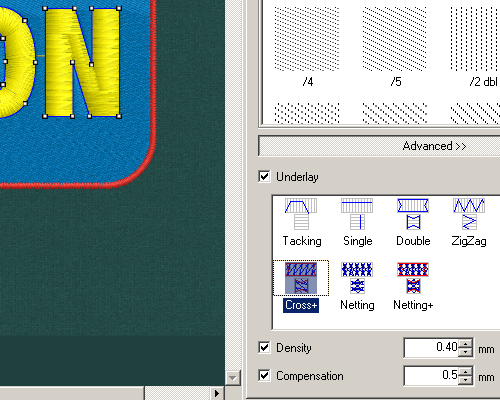
| Step 7: The existing Satin underlay is shown below for the text. |
| |
|
|
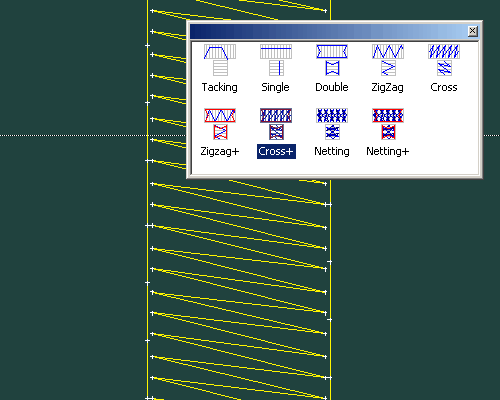
| Step 8: Change Underlay from "Cross+" to "Netting+". |
| |
|
|
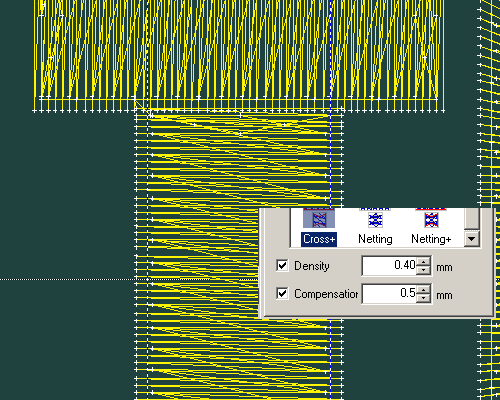
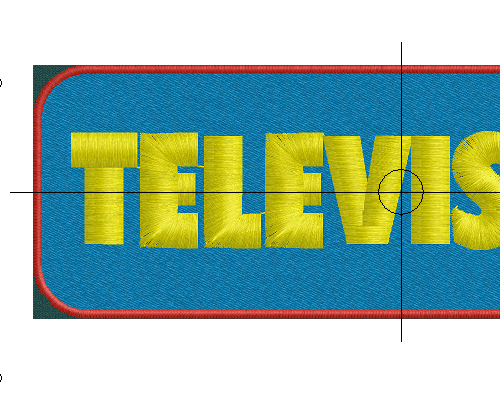
| Step 9: The stitch view of the Text with existing compensation of 0.5 mm. |
| |
|
|
| |
| Step 10: The print out view of the Text with existing compensation of 0.5 mm. |
|
|
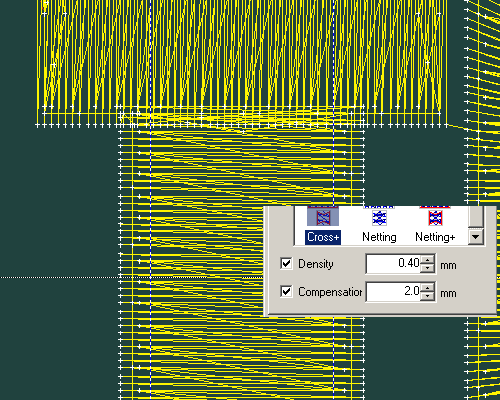
| Step 11:The stitch view of the Text with new compensation of 2.0 mm. |
| |
|
|
| Step 12: The print out view of the Text with new compensation of 2.0 mm. |
 |
|
| Step 13: On outline properties, click on Running, the Satin Border changed into Running Stitch. |
| |
|
|
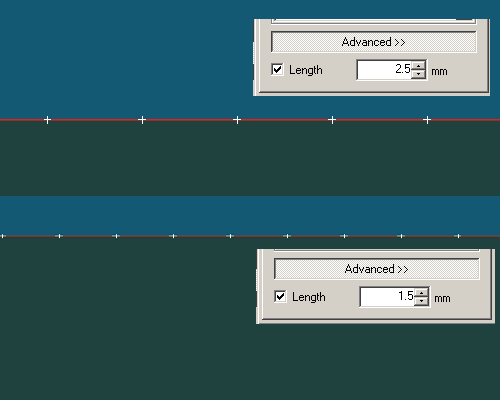
| Step 14: Adjust Stitch length from 2.5mm to 1.5mm. |
| |
|
|