|
| DRAWings® Demo D : |
Create A Design From a Scanned Bmp Pixel Artwork |
 |
| |
Step 1: We know that DRAWings® creates embroidery designs based on pure vector files. Therefore, we have to first convert a scanned-in pixel file into a vector file. The quality of the original image dictates how good the vector result will be, and how much editing may be needed before generating stitches.
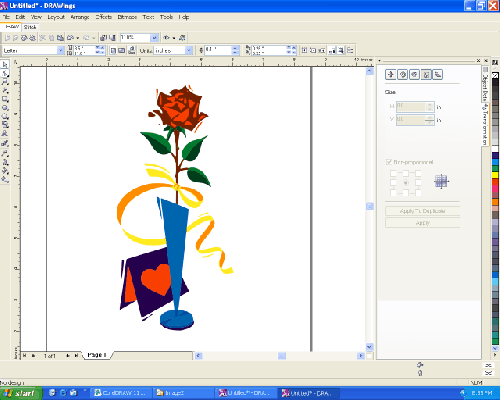
Now let's open a bmp file in CorelDRAW®, as shown below. |
|
|
|
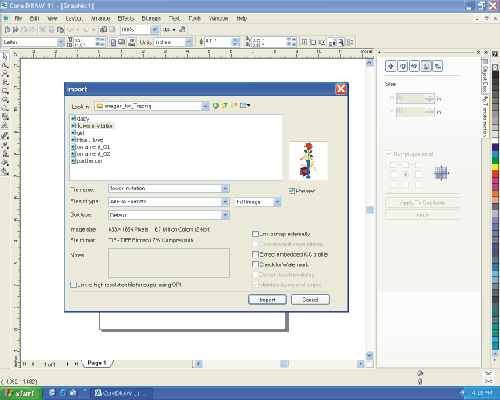
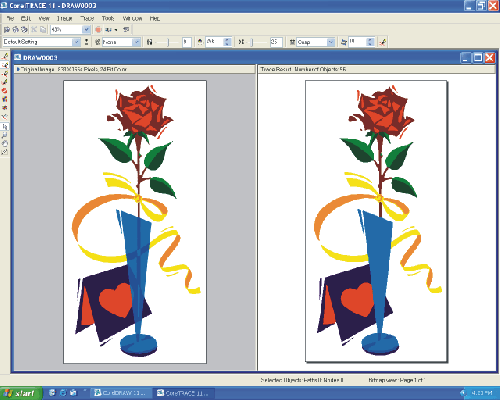
Step 2: On the top main menu, click "Bitmaps" and "Trace Bitmaps". This will open the CorelTRACE application inside CorelDRAW®. |
 |
|
|
Step 3: From the CorelTRACE window, select a proper trace option and click the "Trace" icon. The auto trace will create a vector file, as shown on the right side of the window below. |
 |
|
|
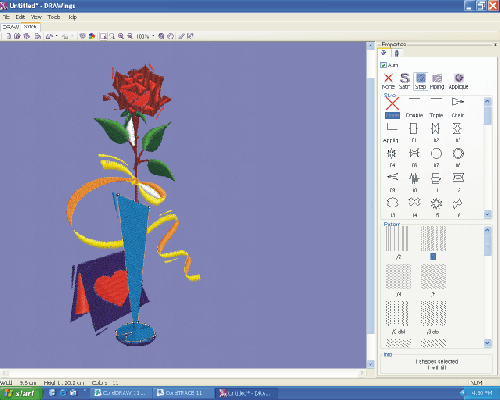
| Step 4: Simply close the Trace window and click the "Save" icon, the vector file is ready in DRAWings® window as shown below: |
|
|
|
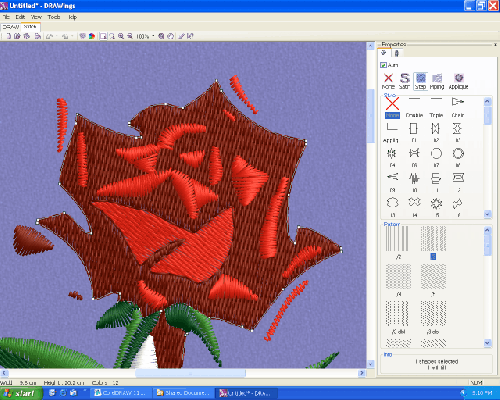
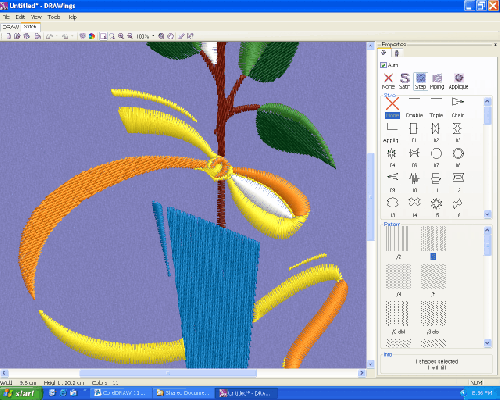
Step 5: Click the "Stitch" Tab for the stitch result. |
|
|
|
| Step 6: Let's take a closer look at the final design from top to bottom. |
|
|
|
|
|
|
|
| |
|
|